Import file formats
For all file types other than Mainframe, you can import the file format via the Add File Format button, located in the Files tab. This will import the file directly into the Continuous Compliance Engine.
-
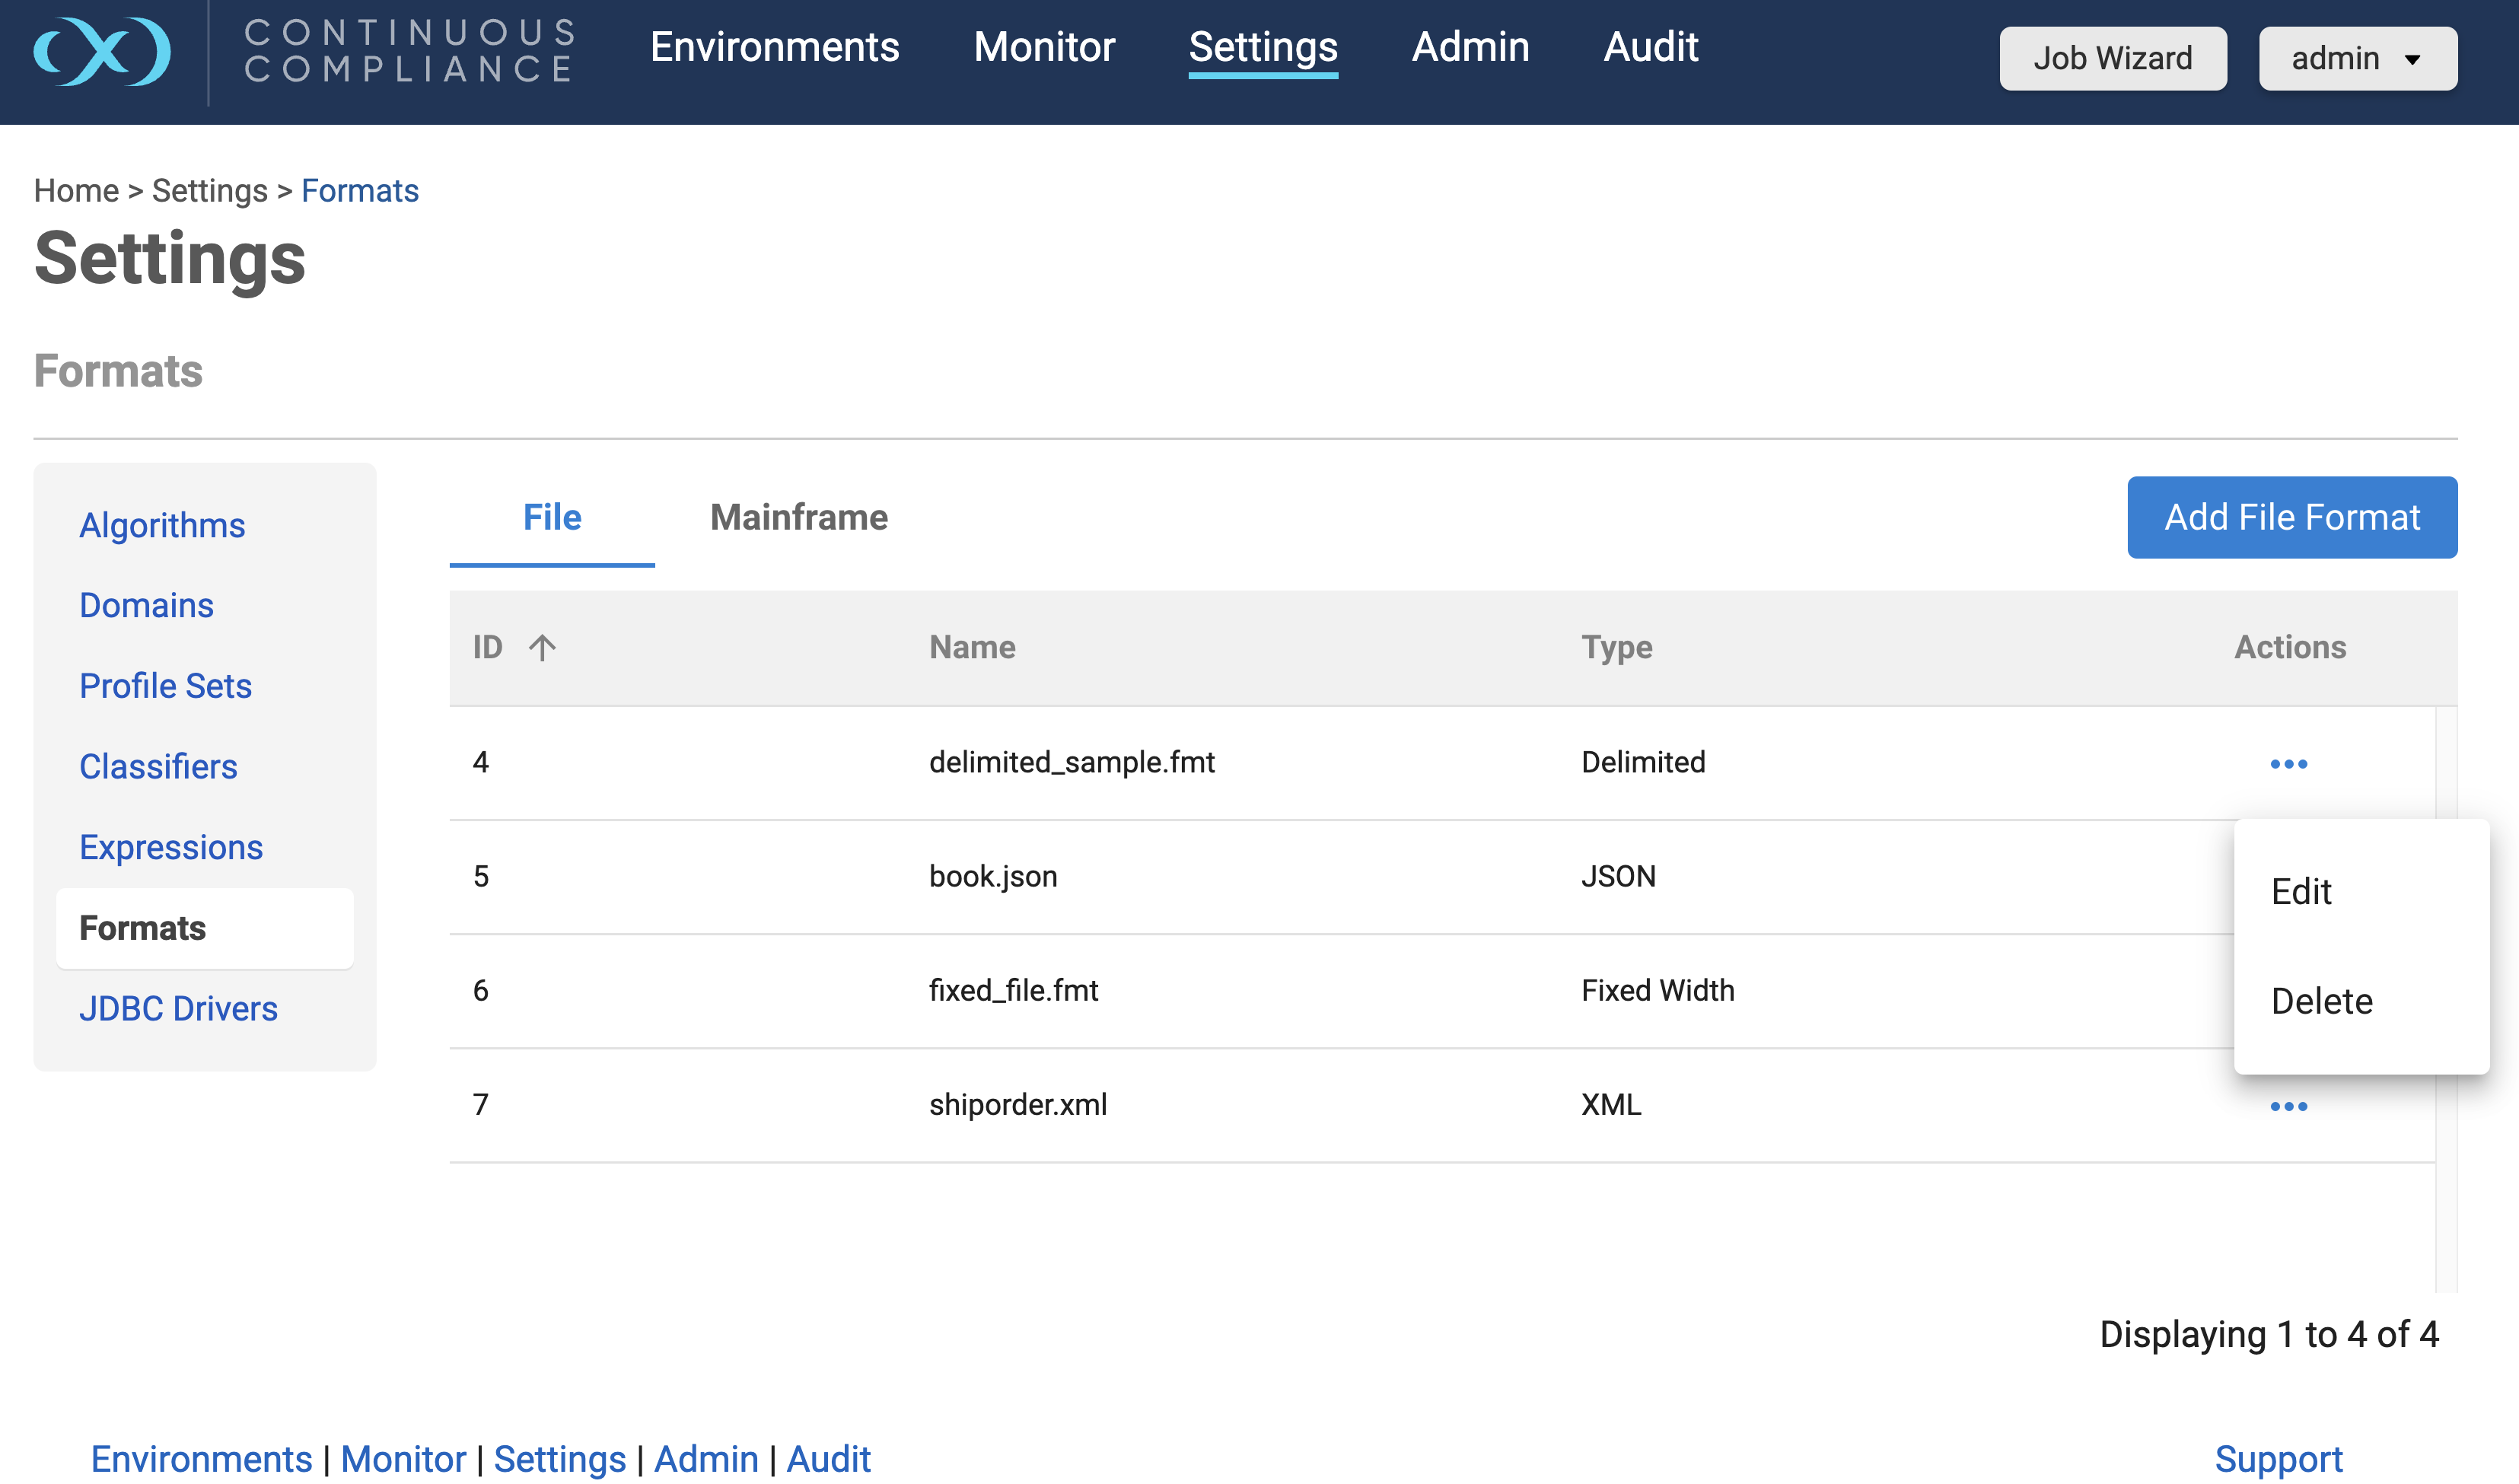
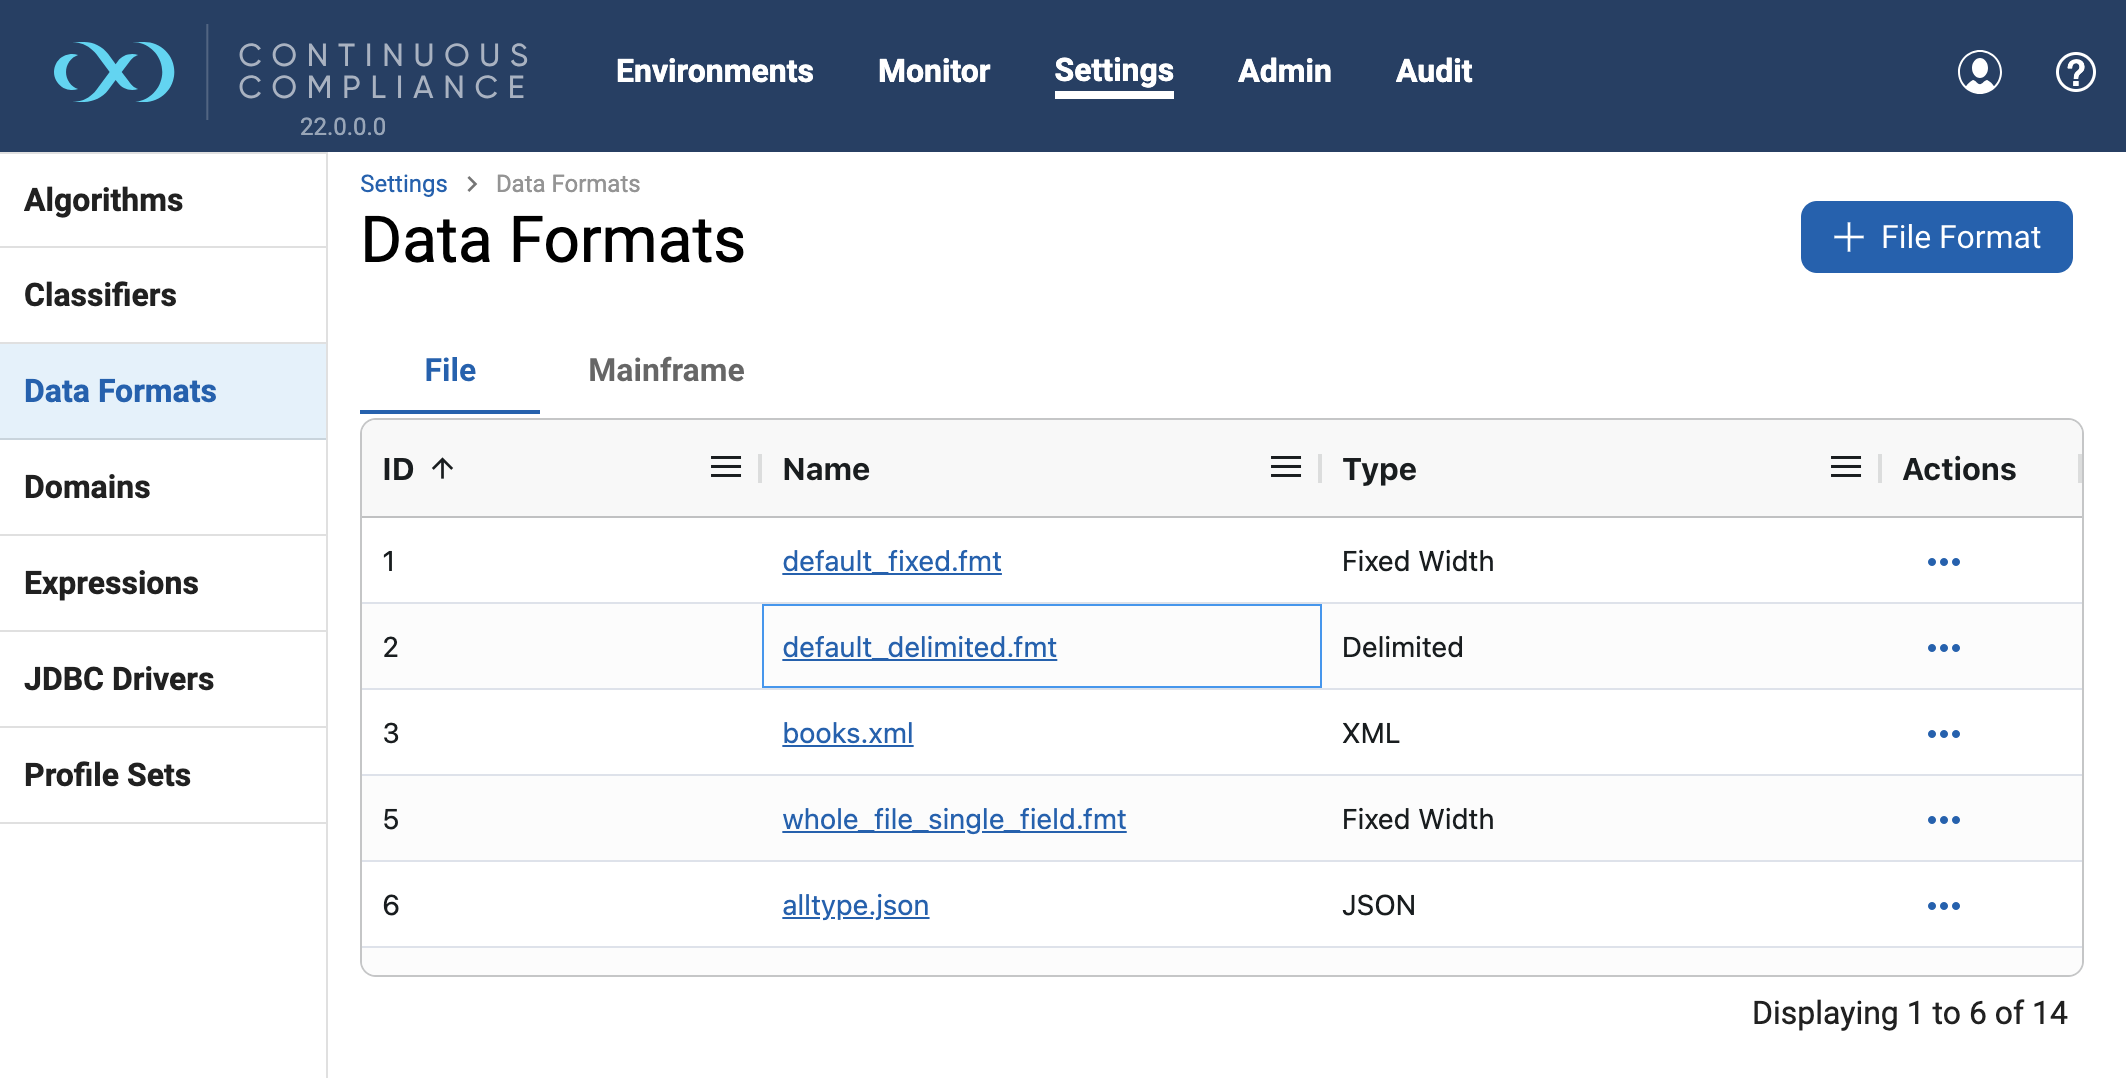
From Home, navigate to the Settings page and click into the Formats section on the left, then click the Files tab at the top.
-
Click the Add File Format button on the top-right, a window with the same name will appear.
-
Select a Format Type and click Next.
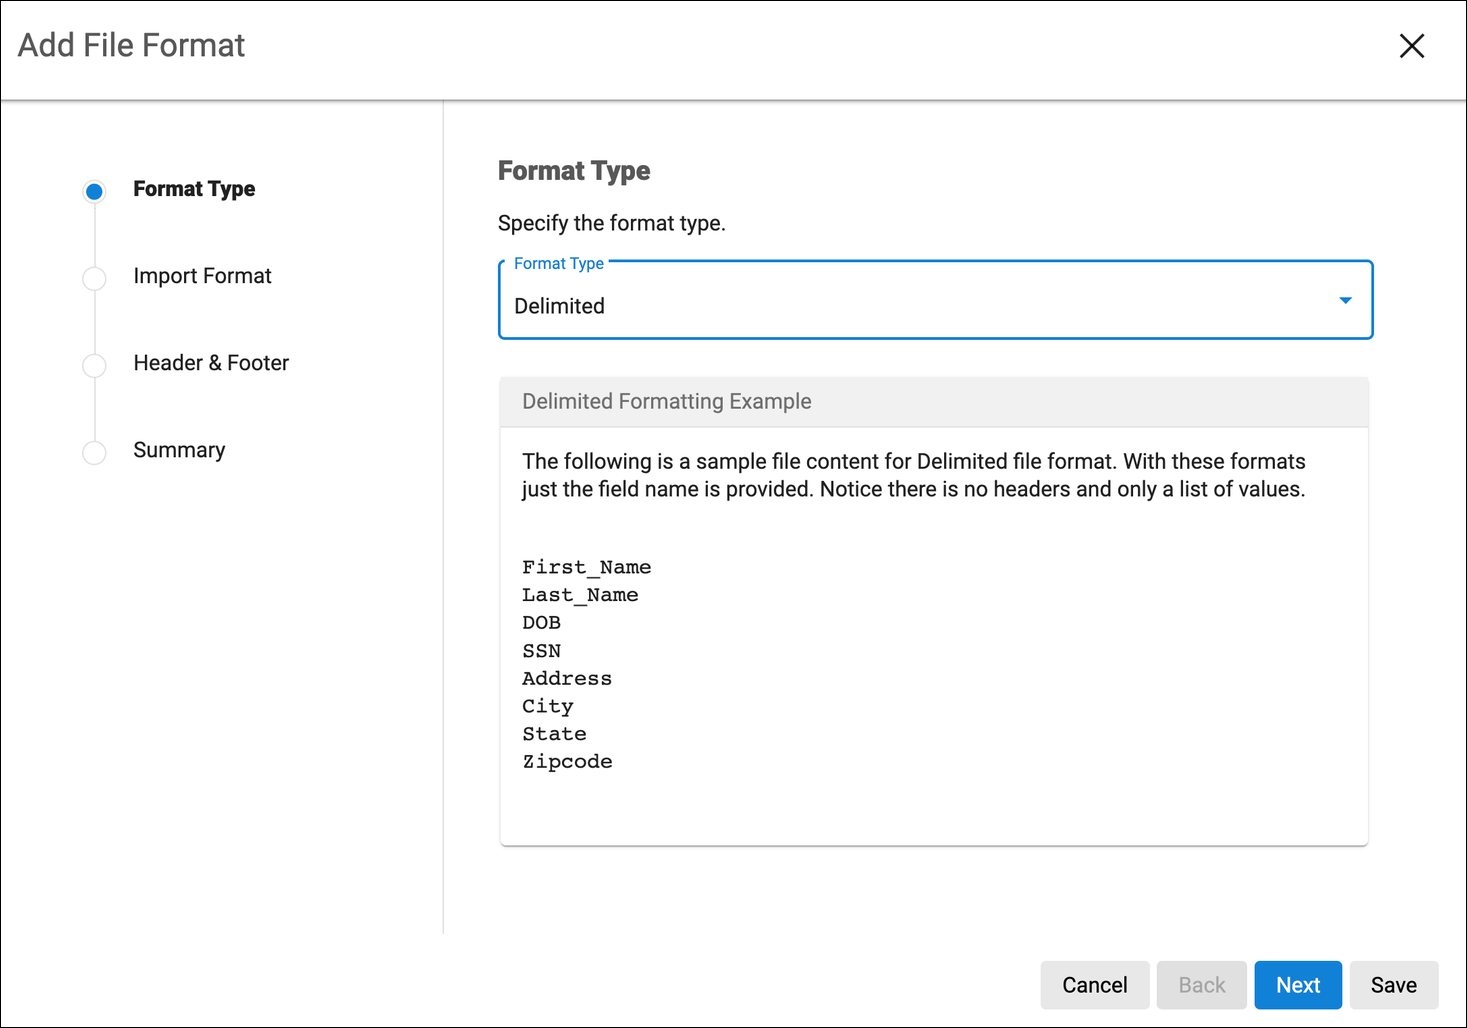
Formatting Examples are shown in the wizard, based on each format type.
-
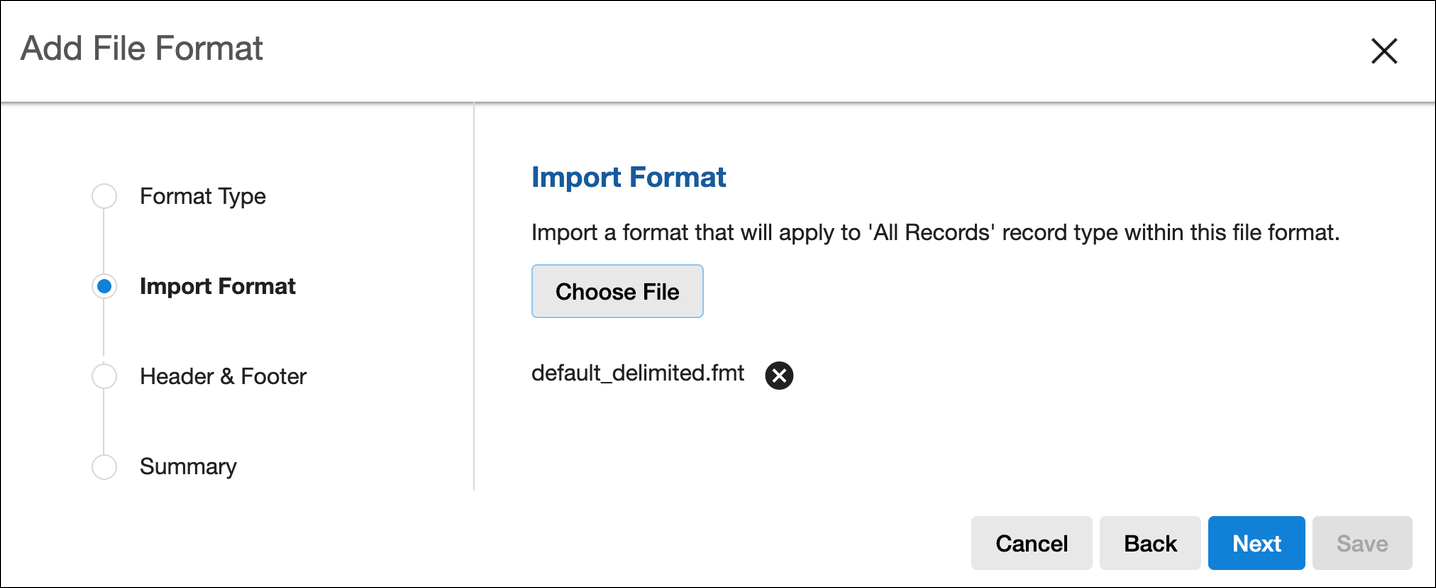
Import a format by clicking Choose File. The name of the file will be the name of the file format.
-
Browse for the file from which the fields will be imported, then click Next.
-
The contents of the imported file vary for delimited, fixed-width, copybook (Mainframe), XML, and JSON file types.
-
Removing a selected file
If you accidentally selected an incorrect file, simply click the x button to the right of the file name and repeat the selection steps above.
-
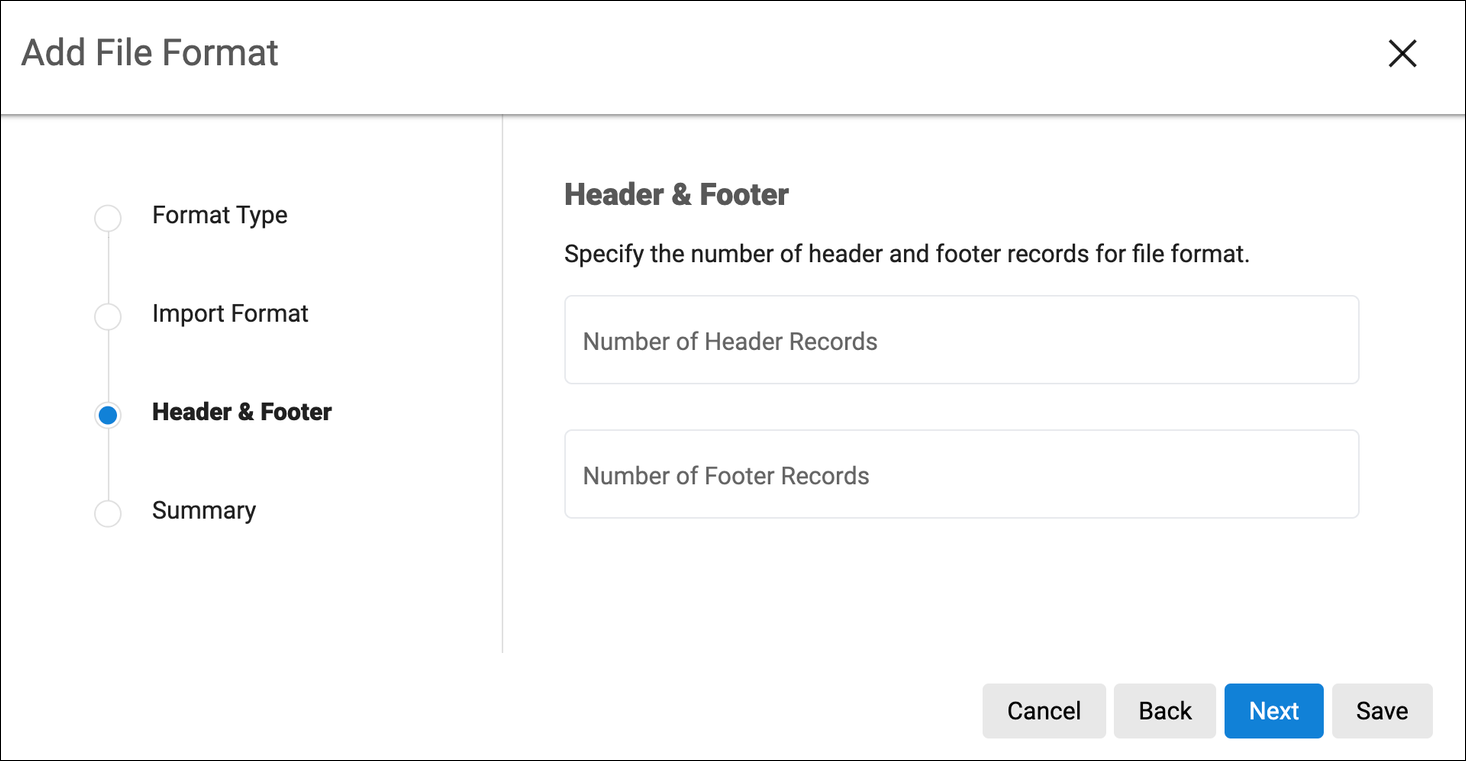
Optionally, for only the delimited or fixed-width formats, users will see a step to configure the number of header or footer records for the file. Click Next with or without setting the header or footer, as needed.
-
View the summary on the last step to confirm the changes.
-
Click Save at any point after importing the format.
Import Mainframe formats
For Mainframe data sets, you can import the file format via the Add Mainframe Format button, located in the Mainframe tab. This will import the copybook directly into the Continuous Compliance Engine.
-
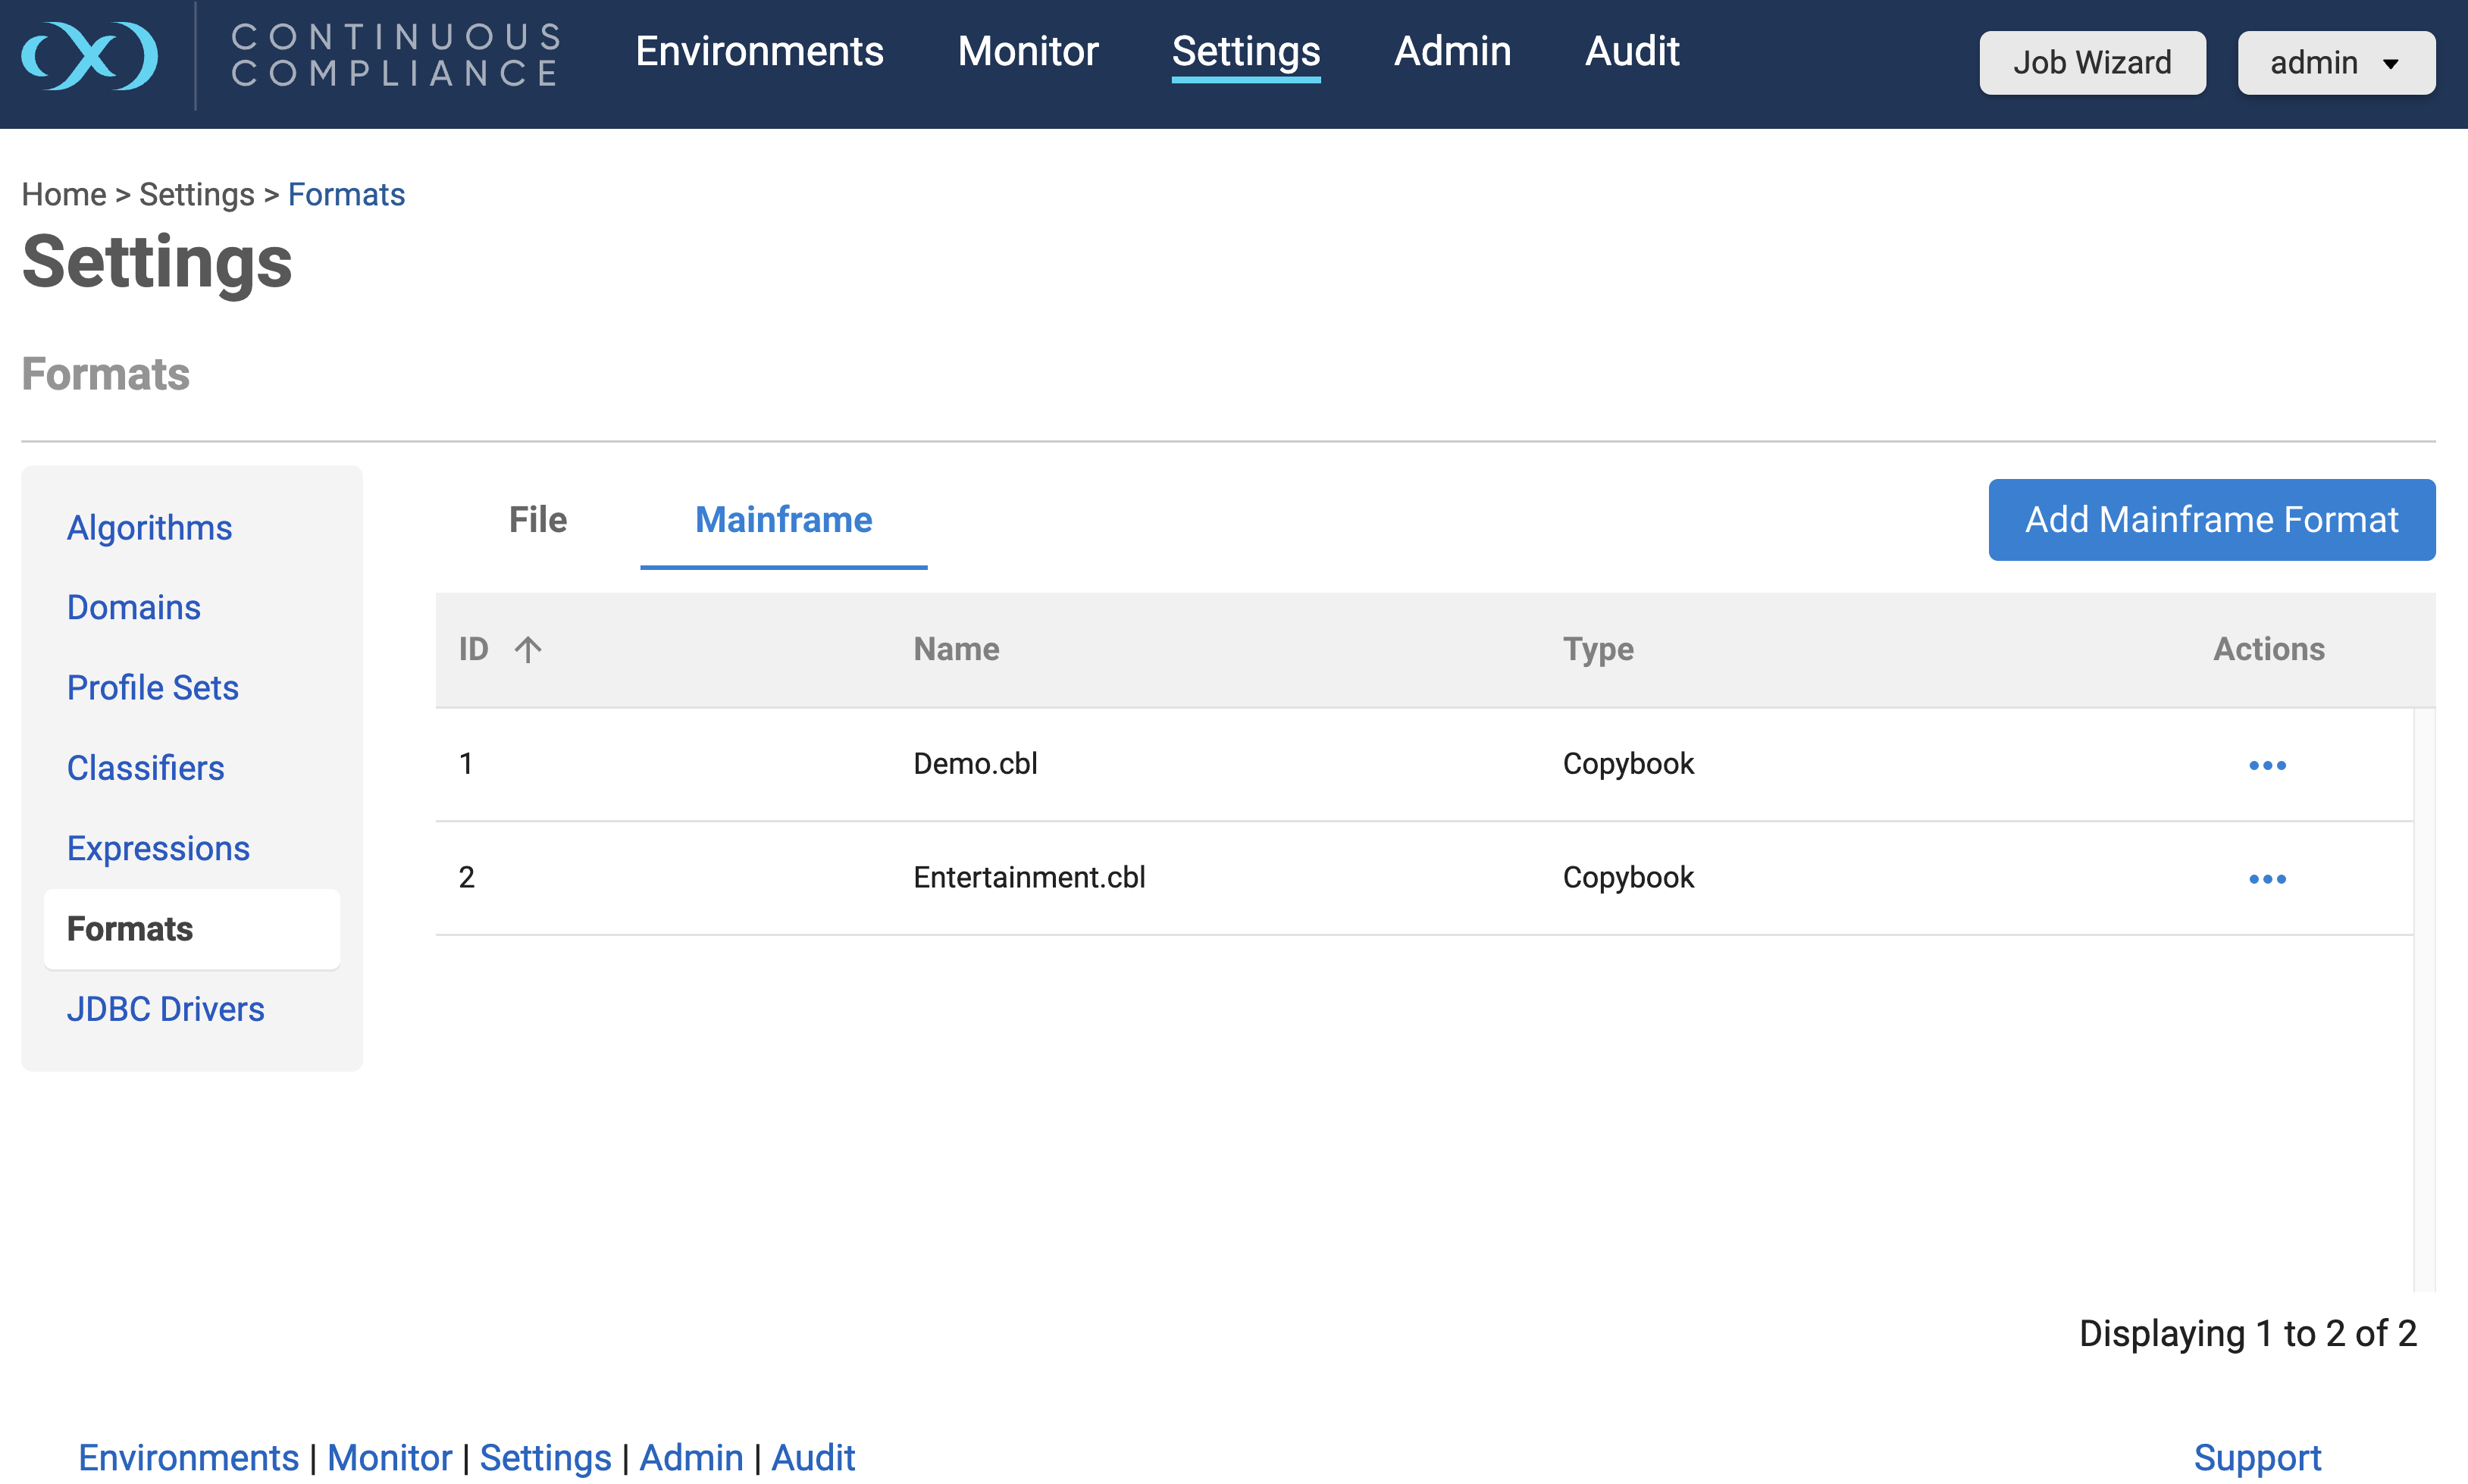
From Home, navigate to the Settings page and click into the Formats section on the left, then click the Mainframe tab at the top.
-
Click the Add Mainframe Format button on the top-right, a window with the same name will appear.
-
The Format Type will be preselected with Copybook, click Next to continue.
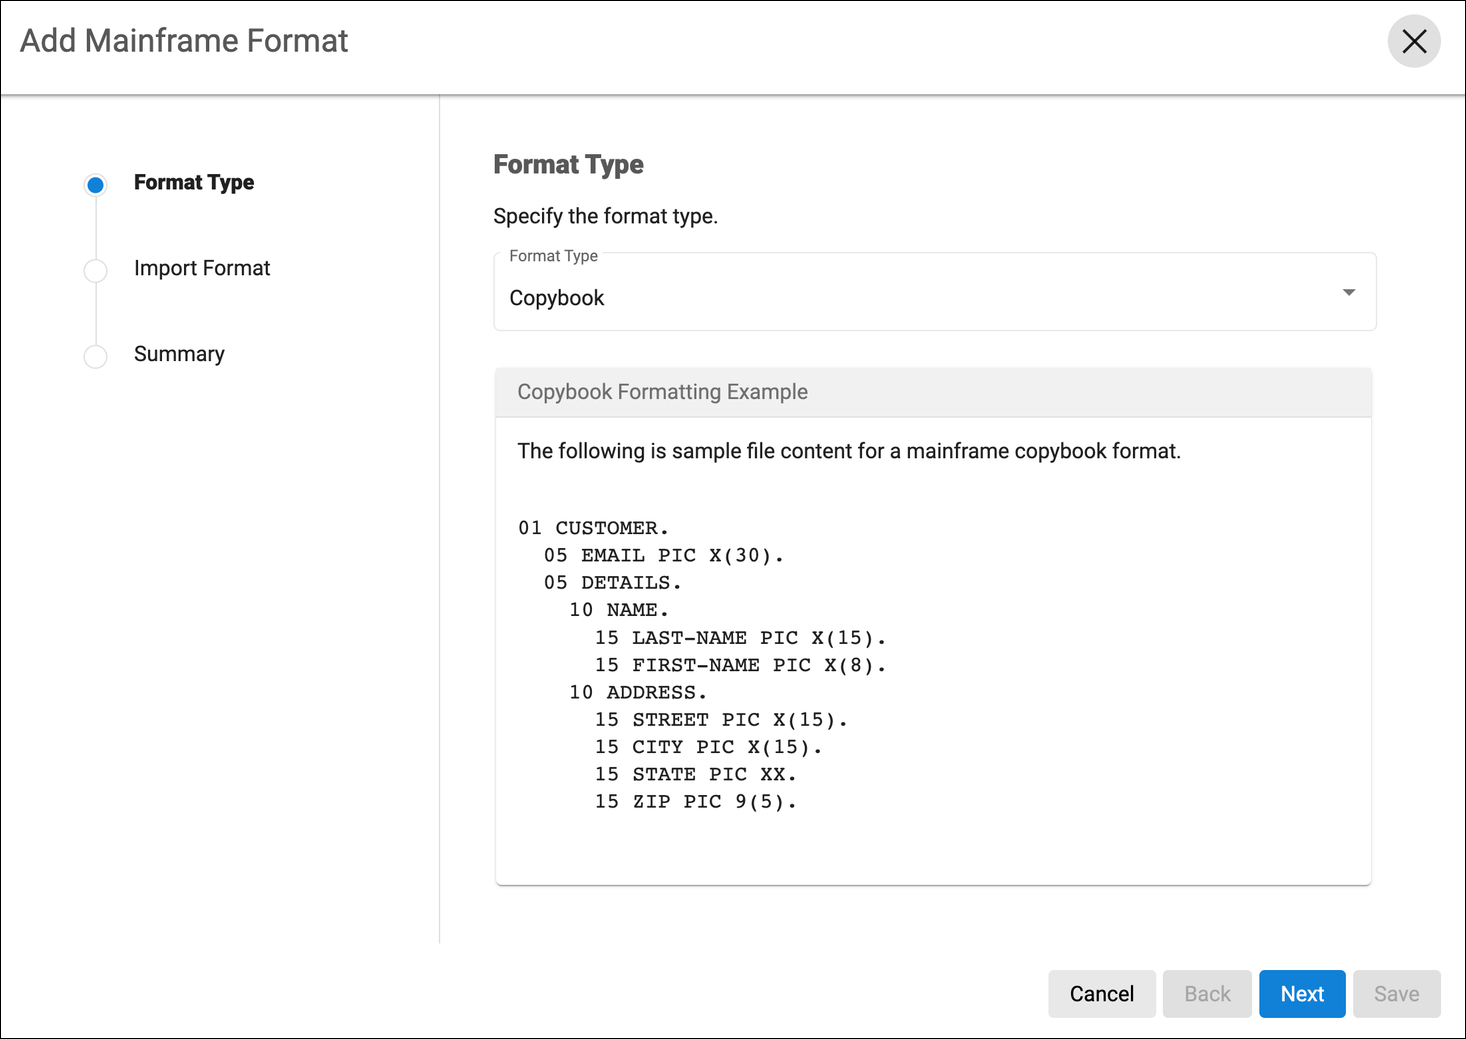
Formatting Examples is shown in the wizard for copybook.
-
Import a format by clicking Choose File.
-
Browse for the format file and click Next.

Removing a selected file
If you accidentally selected an incorrect file, simply click the x button to the right of the file name and repeat the selection steps above.
-
View the summary on the last step to confirm the changes.
-
Click Save at any point after importing the format.
Edit a file format
Selecting the hyperlinked Name of a format in the corresponding column will initiate the file formats edit screen.
File inventory is based on the file format. Therefore, if you make a change to a file inventory, that change applies to all files that use that format.
Delete a file format
Click the Actions button (…) to the right of the corresponding format name in the list and select the Delete option from the dropdown. The user will be prompted for confirmation.