
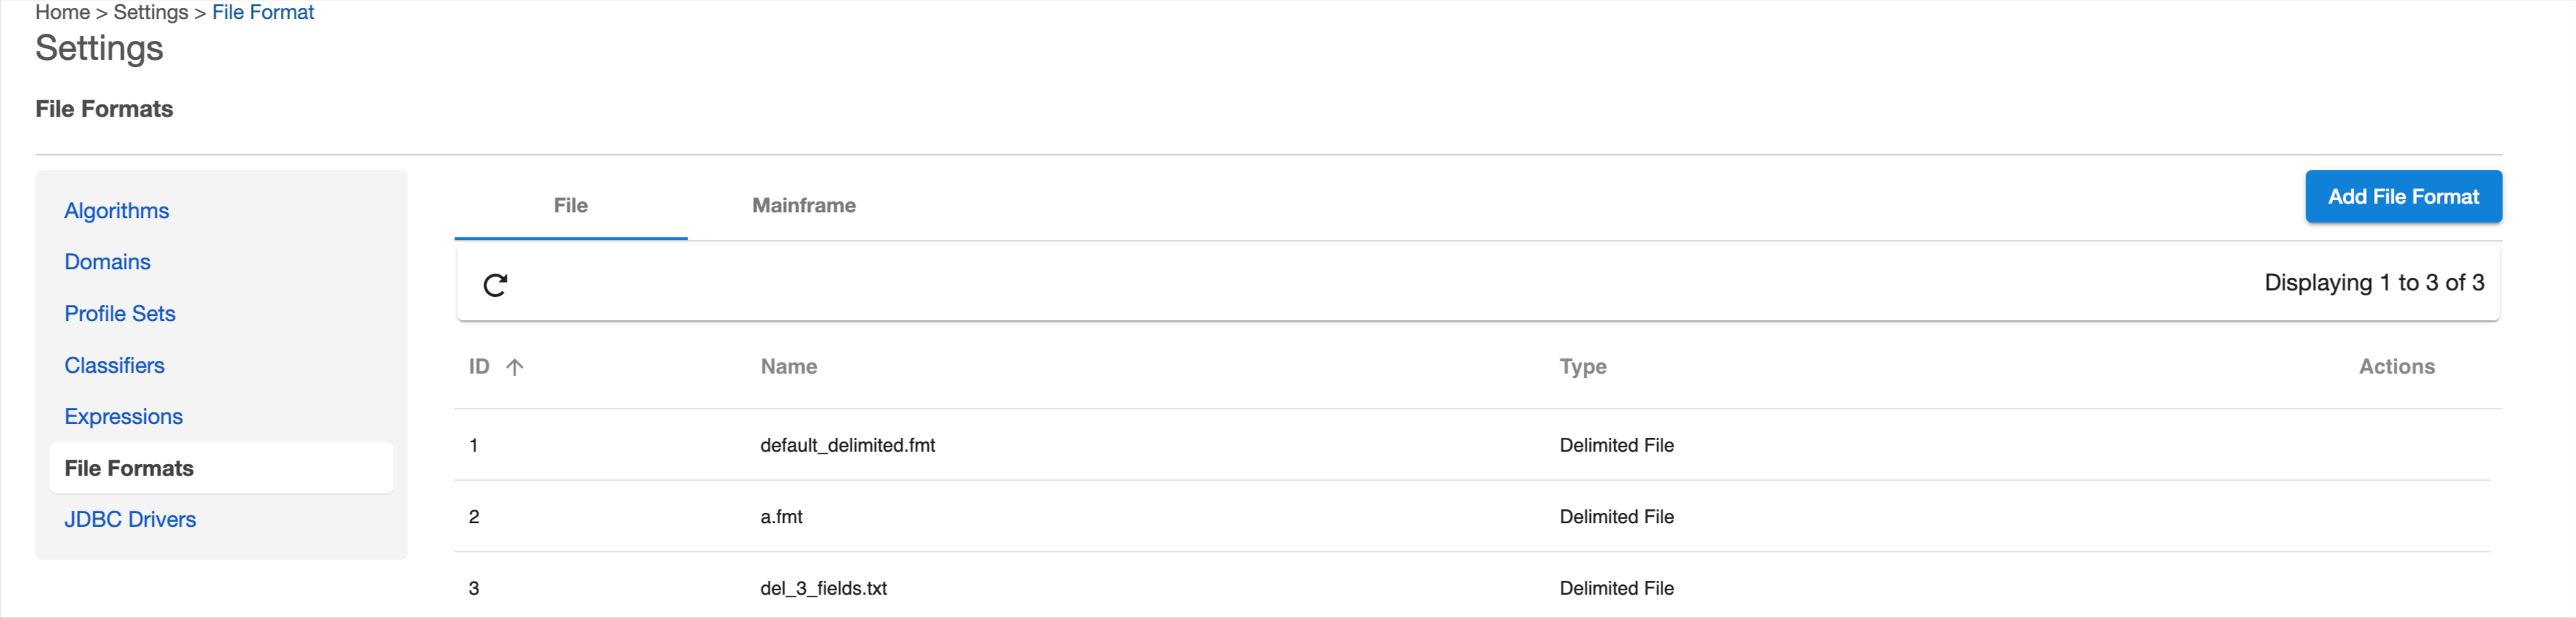
Unlike databases, files typically do not have built-in metadata to describe the format of the fields in the file. This must be provided to Delphix so it can update the file appropriately. This is done through the Settings tab, where a menu item is available on the left for File Formats. Select File Formats to see tabs for File and Mainframe and an option to add a format.
Mainframe data set and file (JSON, Delimited File, Fixed-width File, XML)
For Mainframe data sets, you can specify the format via the Add Mainframe Format wizard in the Mainframe tab, which will import the copybook directly into Delphix.
For other file types, you can also import the file format with the Add File Format button in the File tab, which will import the file directly into Delphix.
JSON and XML
Use the corresponding format for the file that will be masked.
Delimited and fixed-width files
For delimited and fixed-width files, import a text file that describes the structure of the file to Delphix.
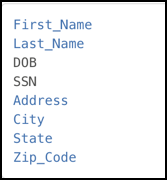
To input the file format for delimited files, create a text document with the field names listed one per line. The screenshot below shows an example of content for delimited file formats. With these formats, just the field name is provided.
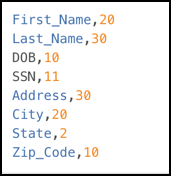
To input the file format for fixed-width files, create a text document with the field names and the length of each field, one combination per line. The screenshot below shows an example of content for fixed-width formats. In this format, the field name is followed by the length of the field, separated by a comma.
Notice there is no header and only a list of values.
Then input this file as the file format. The name of the text file will be the name of the file format.
Fixed-width file mismatch between format and data
For fixed-width files, caution should be taken to ensure that the field length is accurate. An incorrect field length will result in masking a field with the incorrect offset, which would have the unintended consequence of not masking what was intended.
Delimited file mismatch between format and data
There are two different mismatches that can occur:
-
Data Fields < File Format Fields: after masking, delimiter will be added to match the total fields with file format. For example:
-
Format: One, Two, Three
-
Delimited file data: Test Data1, Test Data2
-
Result after masking: Masked Data1, Masked Data2,
NOTE: One extra delimiter is added to match with the file format
-
-
Data Fields > File Format Fields: after masking the extra fields in the delimited file will be lost. For example:
-
Format: One, Two, Three
-
Delimited file data: Test Data1, Test Data2, Test Data3, Test Data4
-
Result after masking: Masked Data1, Masked Data2, Masked Data3
-
Multi-byte characters For fixed-width files, field length is determined by the number of characters rather than the number of bytes.
To import a new file format
-
Click the Add File Format button at the upper right. The Add File Format wizard appears.
-
Select a Format Type. click Next.
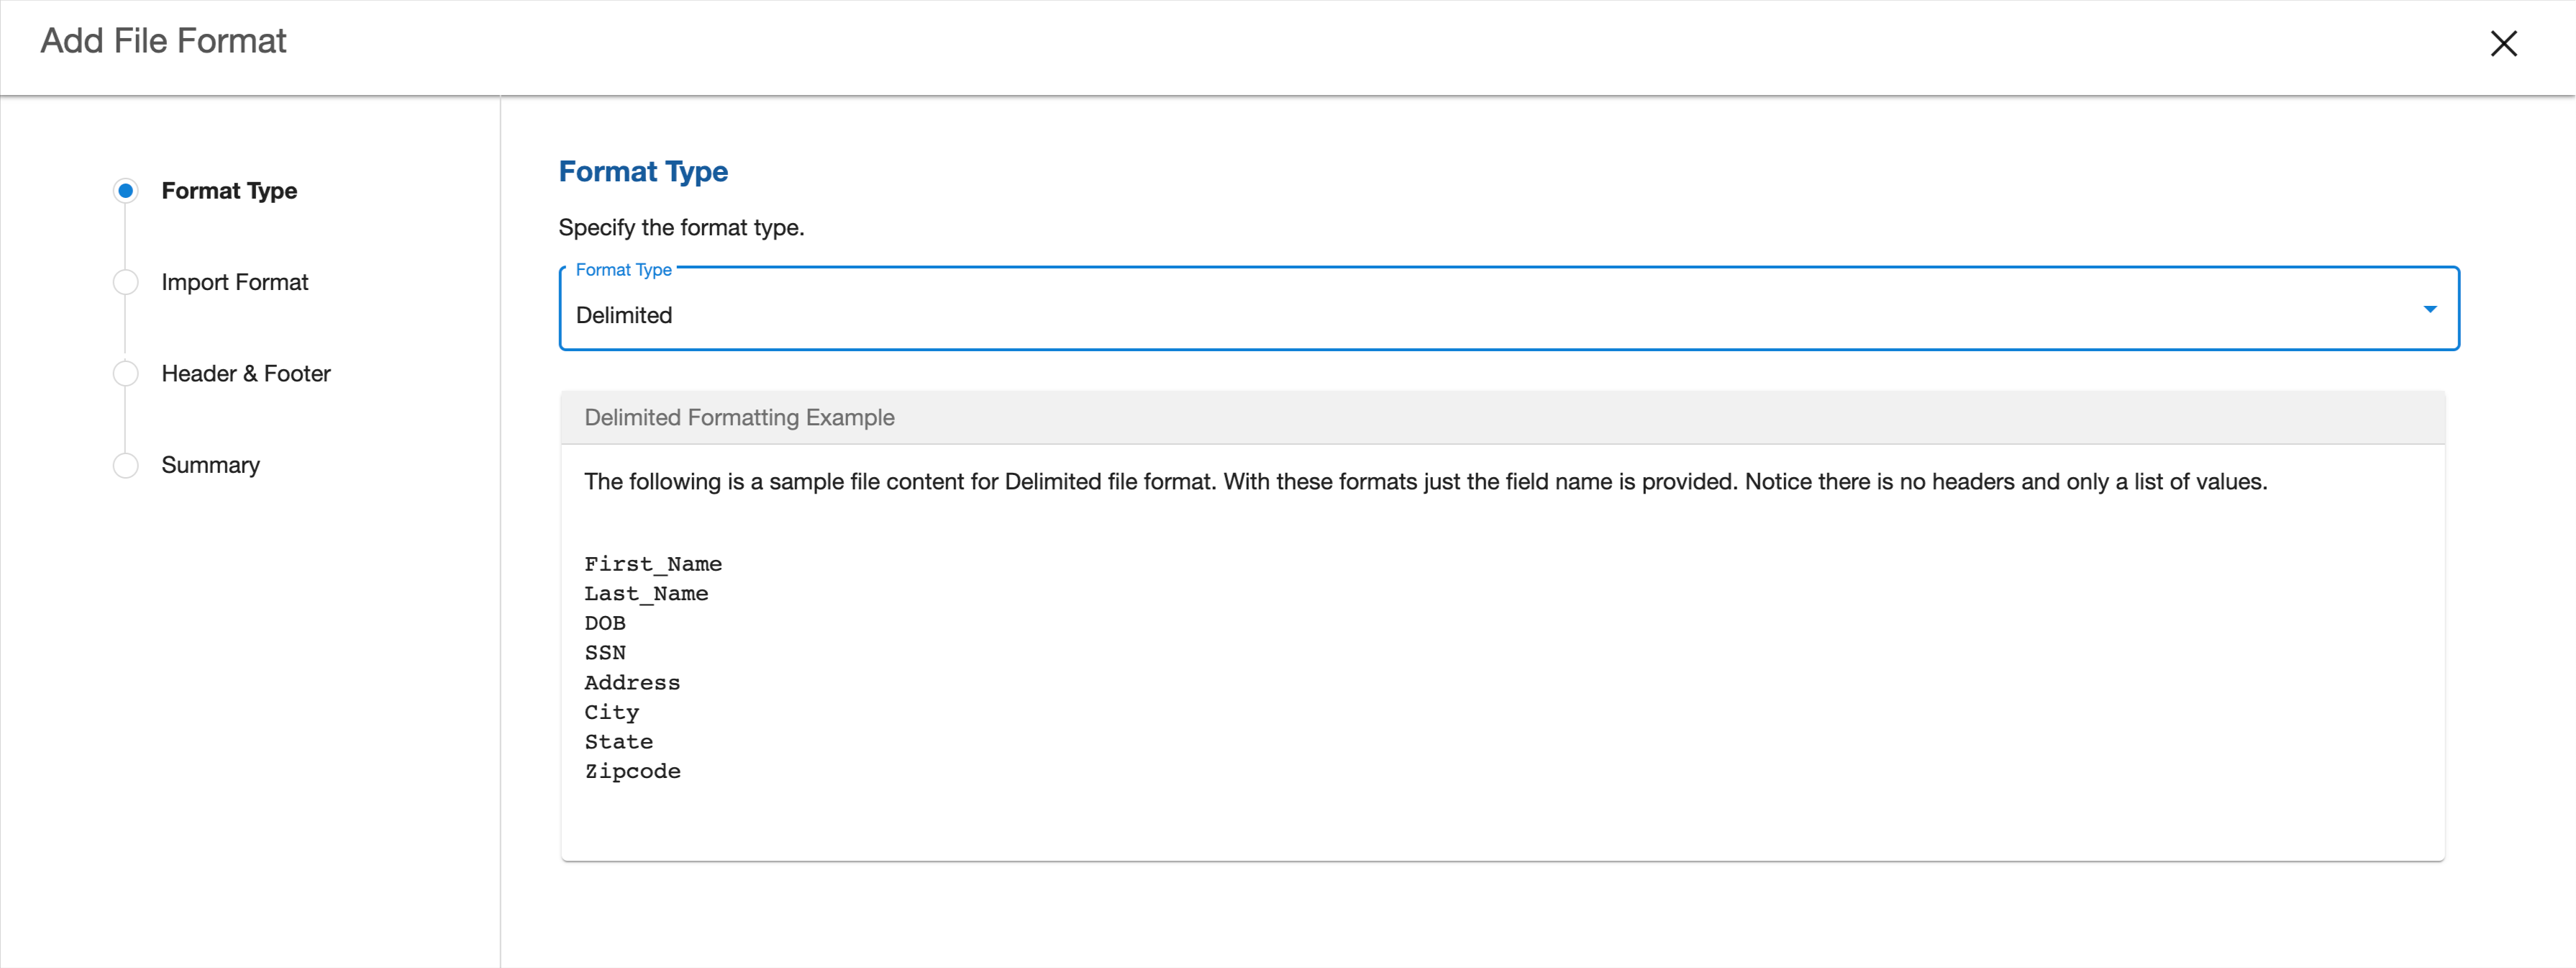
Formatting Examples are shown in the wizard based for each format type.
-
Import a format by clicking Choose File.
-
Browse for the file from which the fields will be imported. Click Next.
Note: The contents of the imported file vary for delimited, fixed width, copybook (Mainframe), XML, and JSON types.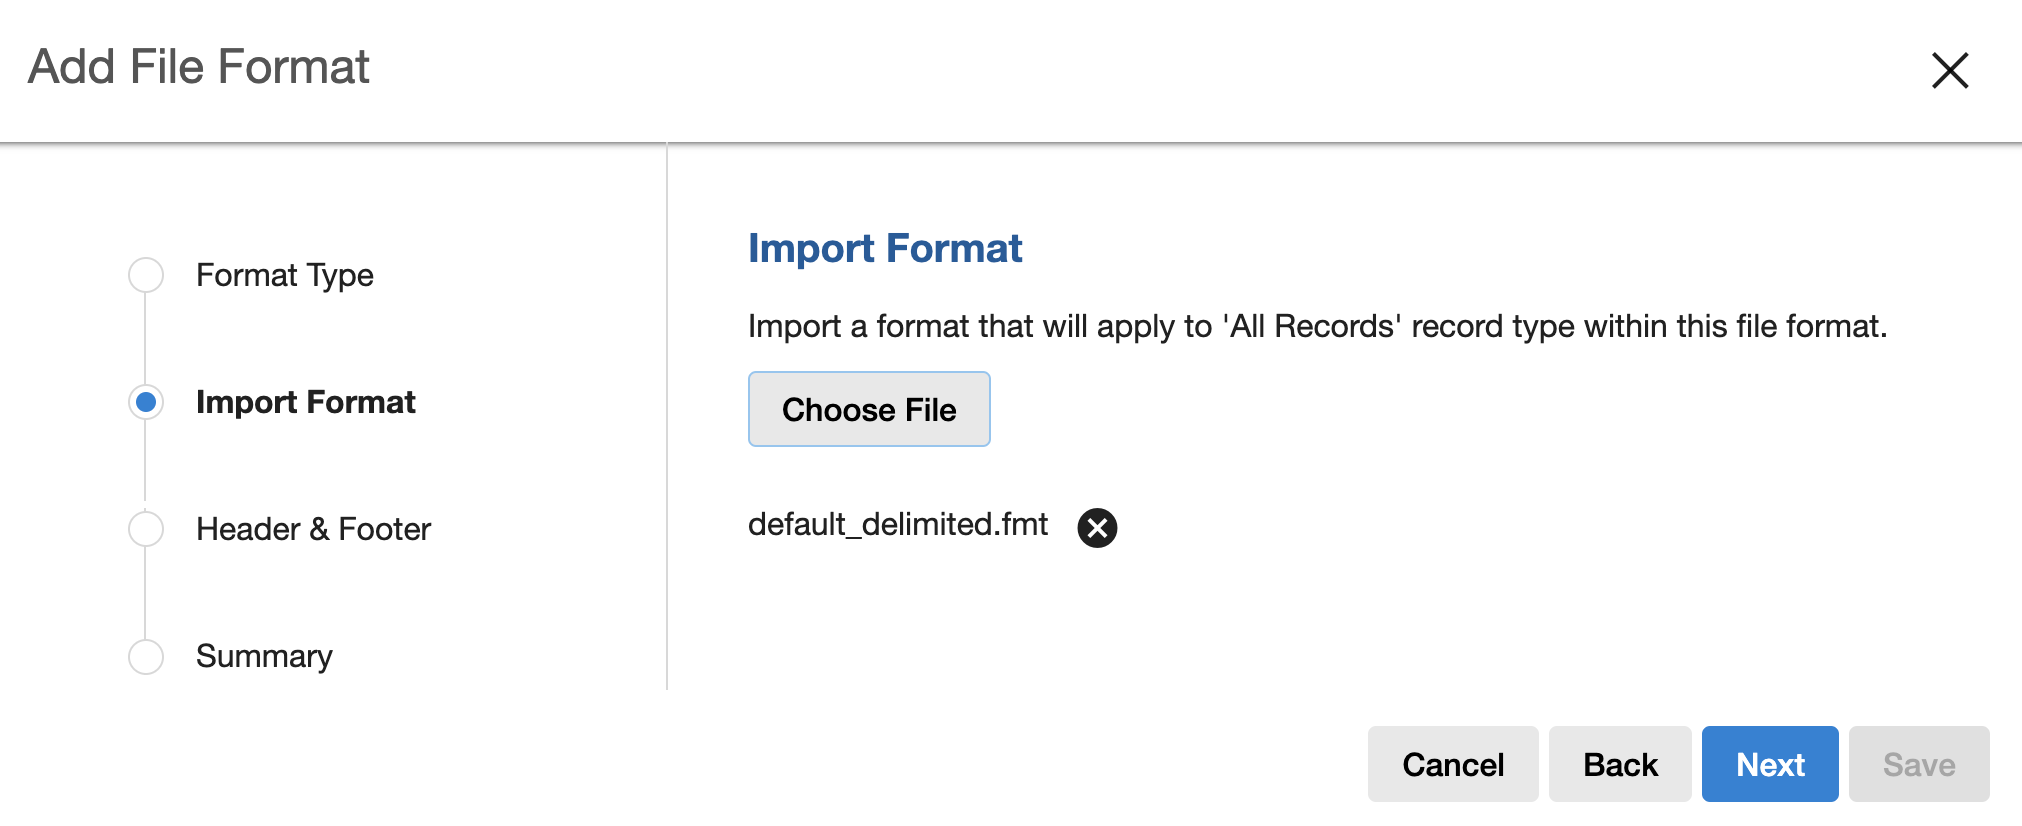
Removing a selected file
If you accidentally selected an incorrect file, simply click the cross button to the right of the file name and repeat the selection steps above.
-
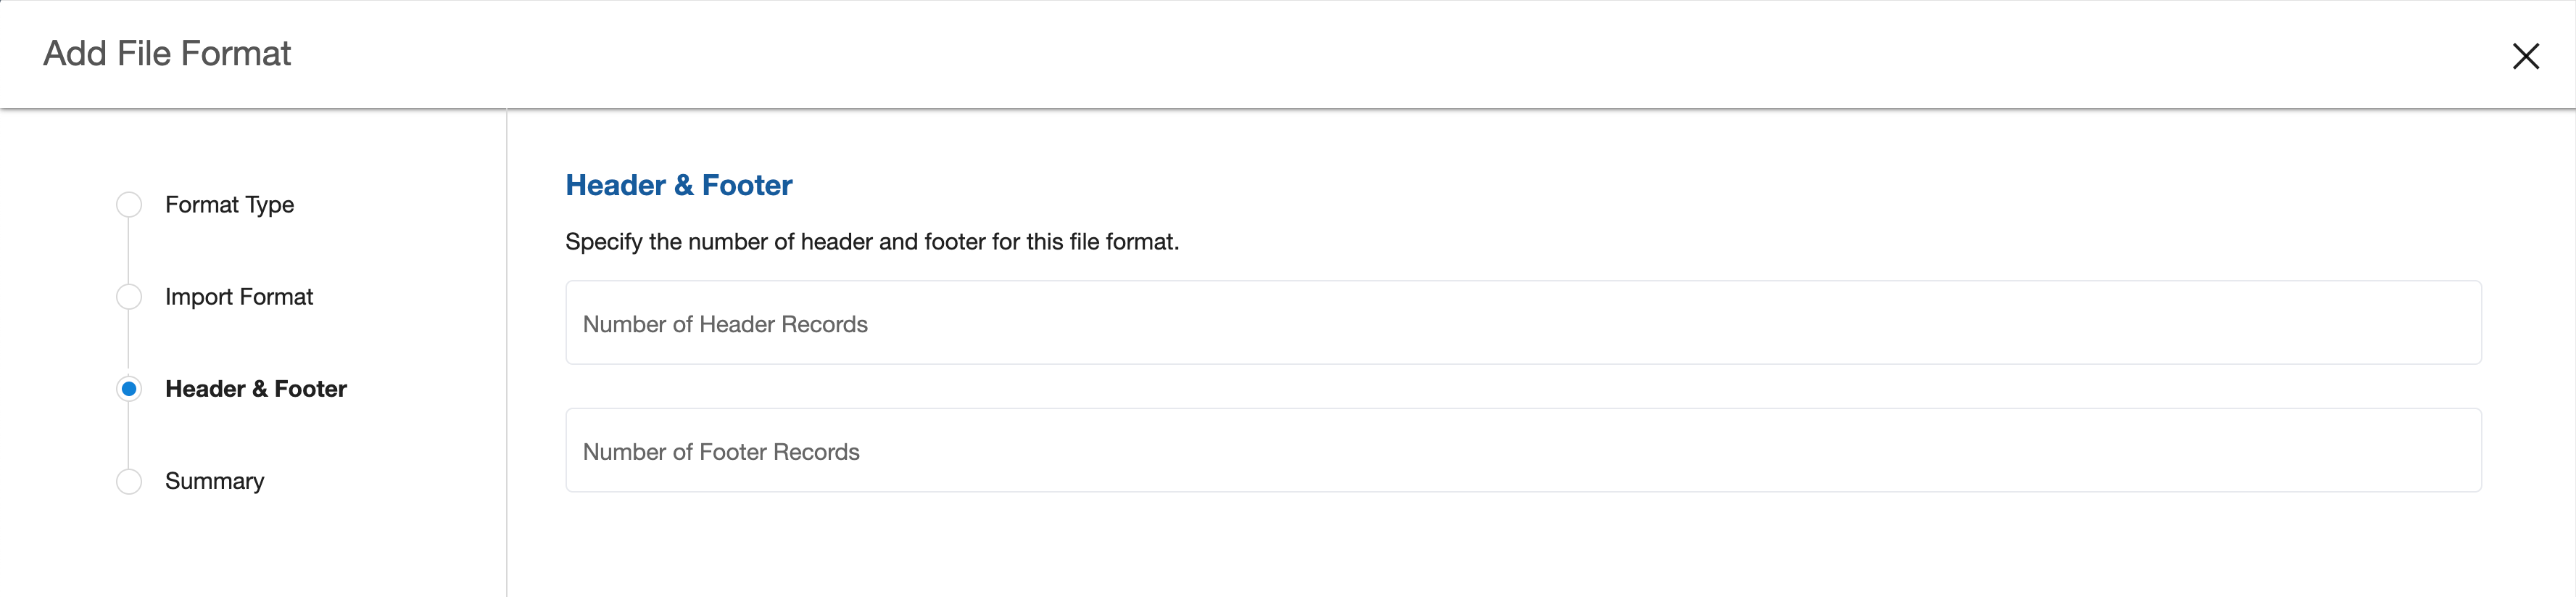
Optionally, for a format type of delimited file, or fixed-width file only, users will see a step to configure the number of header or footer records for the file. Click Next with or without setting the header or footer as needed.
-
View the summary on the last step to review the changes.
-
Click Save at any point after importing the format.
The fixed-width and delimited formats must have NO header. Make sure there are no spaces or returns at the end of the last line in the file. To be masked, the field names must be in the same order as they are in the data file.
To import a new copybook format
-
Go to the Mainframe tab.
-
Click the Add Mainframe Format button in the upper right. The Add Mainframe Format wizard will appear.

-
Copybook Format Type is pre-selected. click Next.

Formatting Examples is shown in the wizard for copybook.
-
Import a format by clicking Choose File.
-
Browse for the format file and click Next.

Removing a selected file
If you accidentally selected an incorrect file, simply click the x button to the right of the file name and repeat the selection steps above.
-
View the summary on the last step to review the changes.
-
Click Save at any point after importing the format.
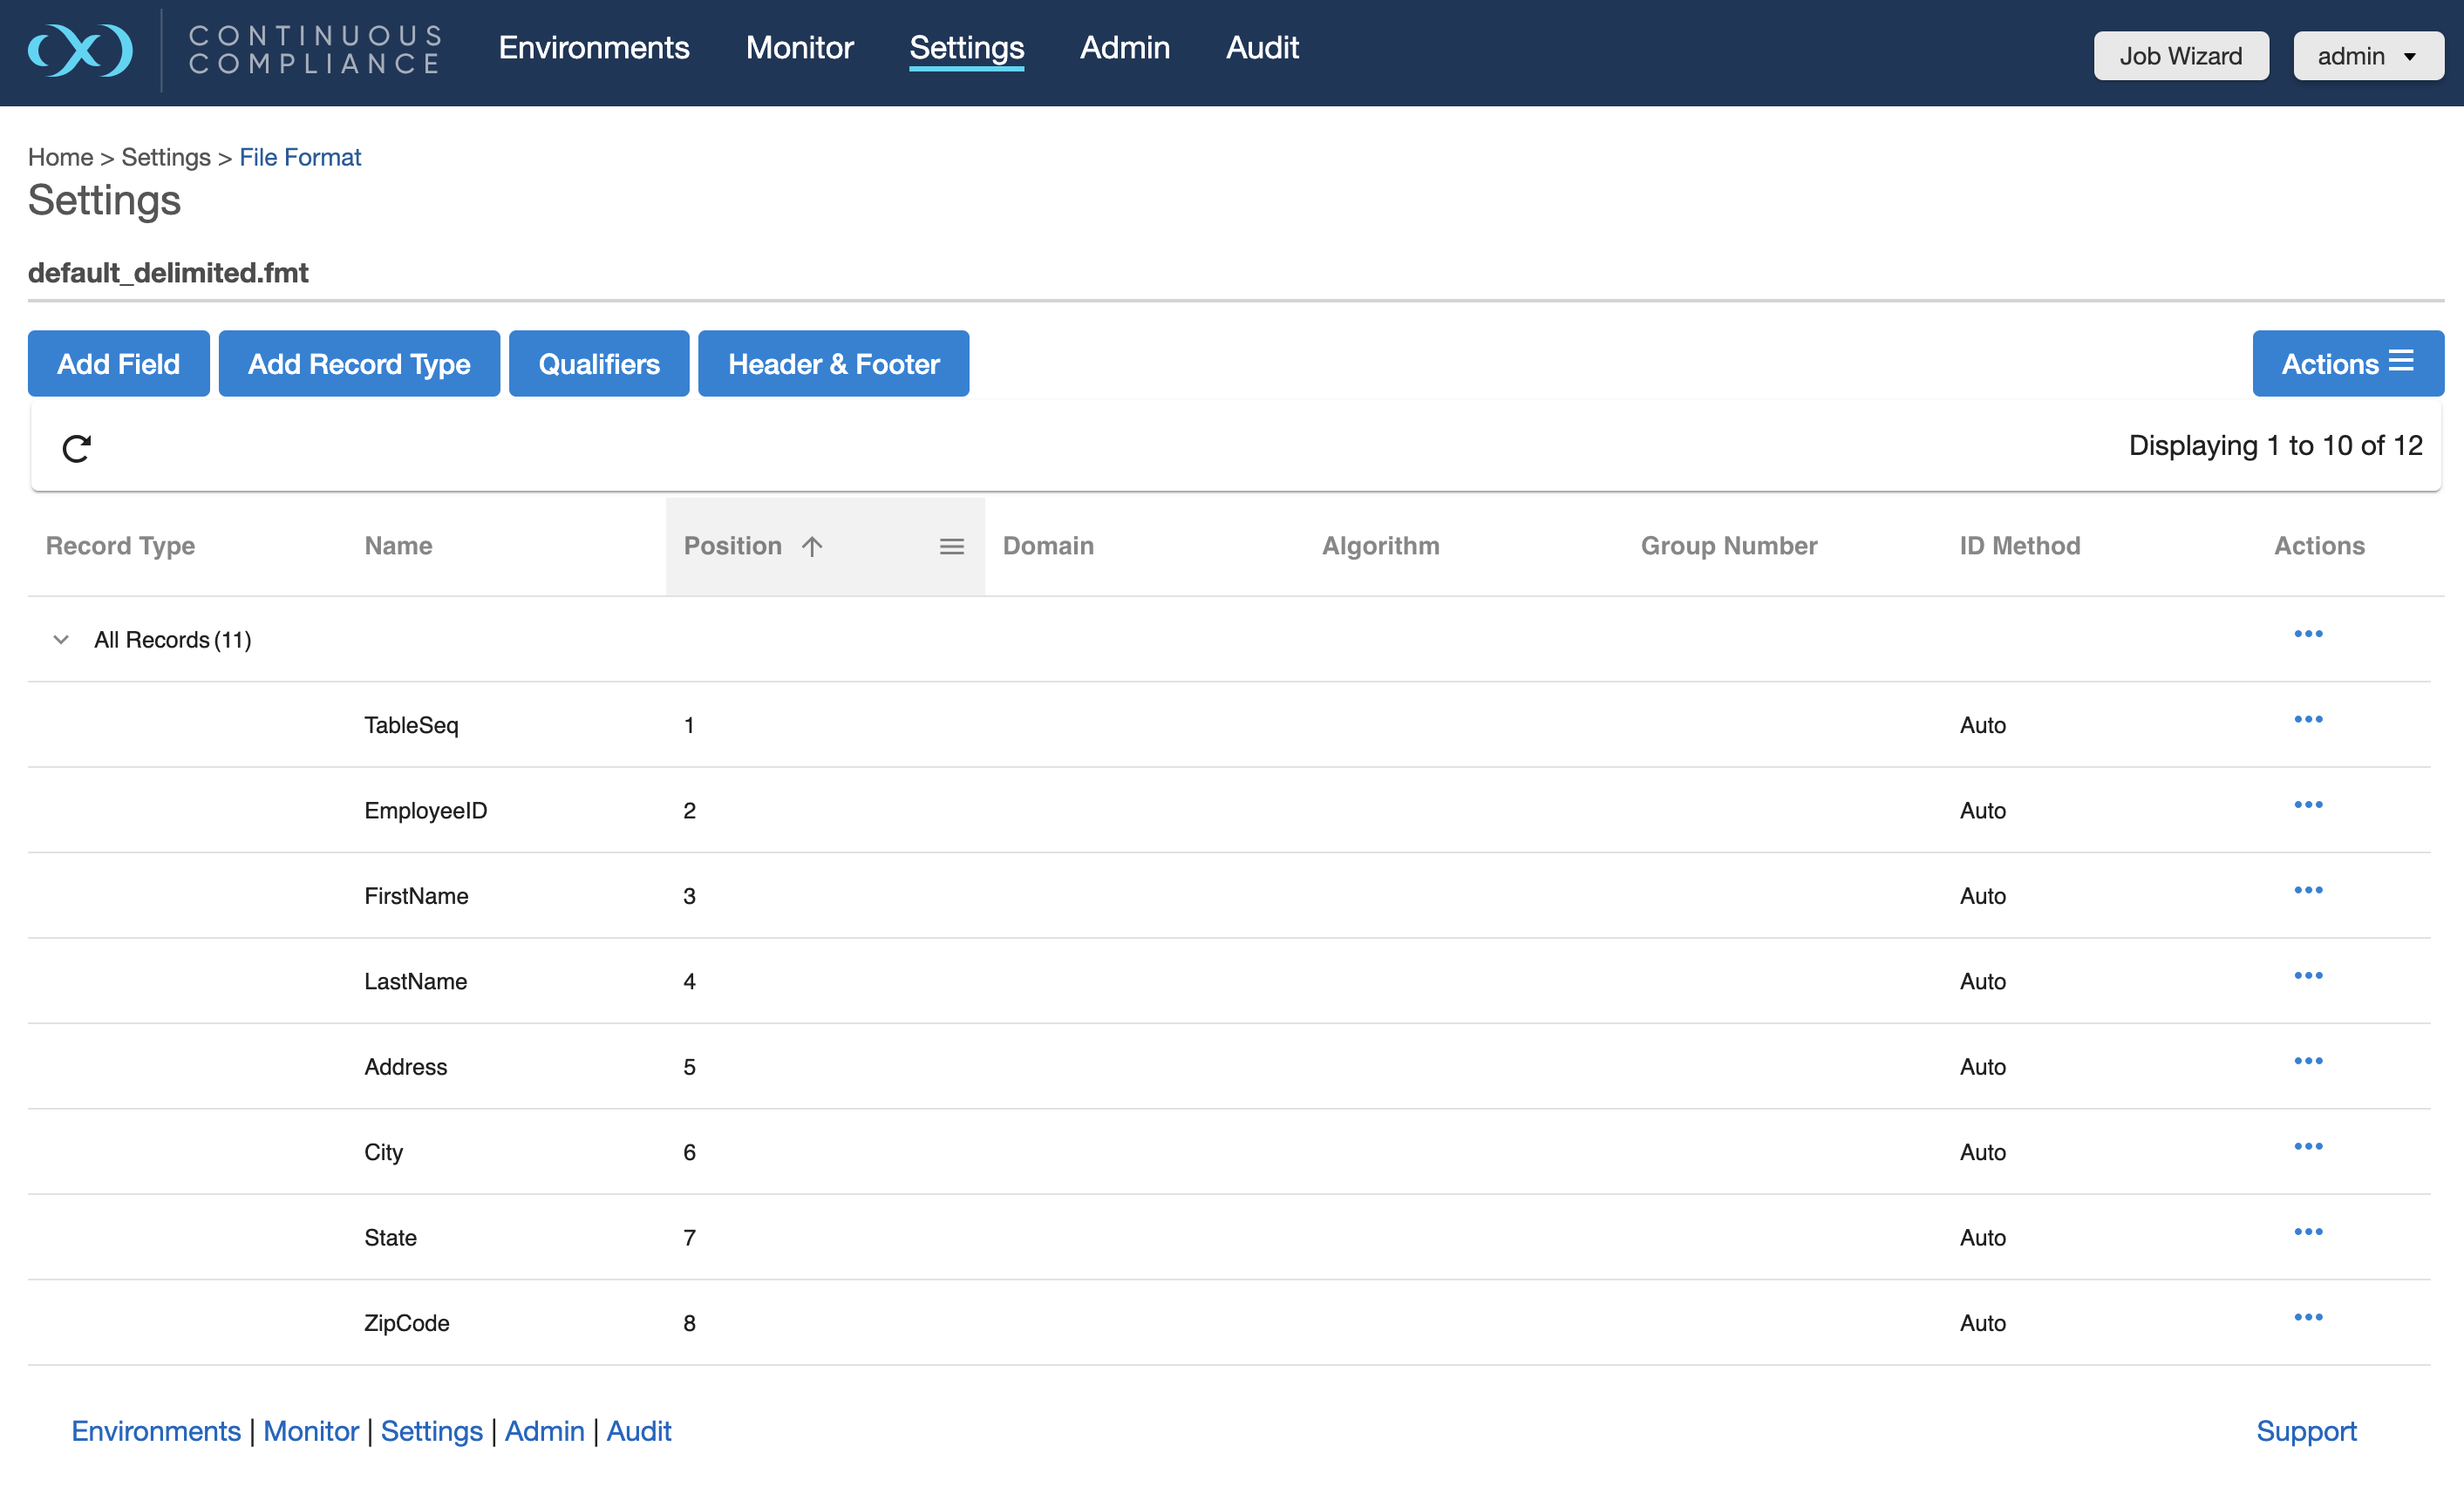
To delete a format
Click the Actions button (…) to the right of the corresponding format name in the list and select the Delete option from the dropdown.
The user will be prompted for confirmation.

To edit a format
Click the Actions button (…) to the right of the corresponding format name in the list and select the Edit option from the dropdown.
File inventory is based on the file format. Therefore, if you make a change to a file inventory, that change applies to all files that use that format.
Currently only fixed-width and delimited file formats are editable, support for editing other file format types will be added in future releases.
Assigning a file format to files
Once a rule set with a file or set of files is created, you will need to assign those files to their appropriate file format. This is accomplished by editing the rule set. When clicking on the edit button for the file, a pop-up screen called Edit File will appear with the file name. There will be a drop-down to select the proper format for the file. If the file is a Mainframe data set file with a copybook, you will see a checkbox to signify if the file is variable length.
For all other file types, select the end-of-record to let Delphix know whether the file is in Windows/DOS format (CR+LF) or Linux format (LF). If the file is a delimited file, there will be a space to put in the delimiter. If there are multiple files in the ruleset, you will have to edit each one individually and assign it to the appropriate file format.